0
items
$0

Breakfast Bars
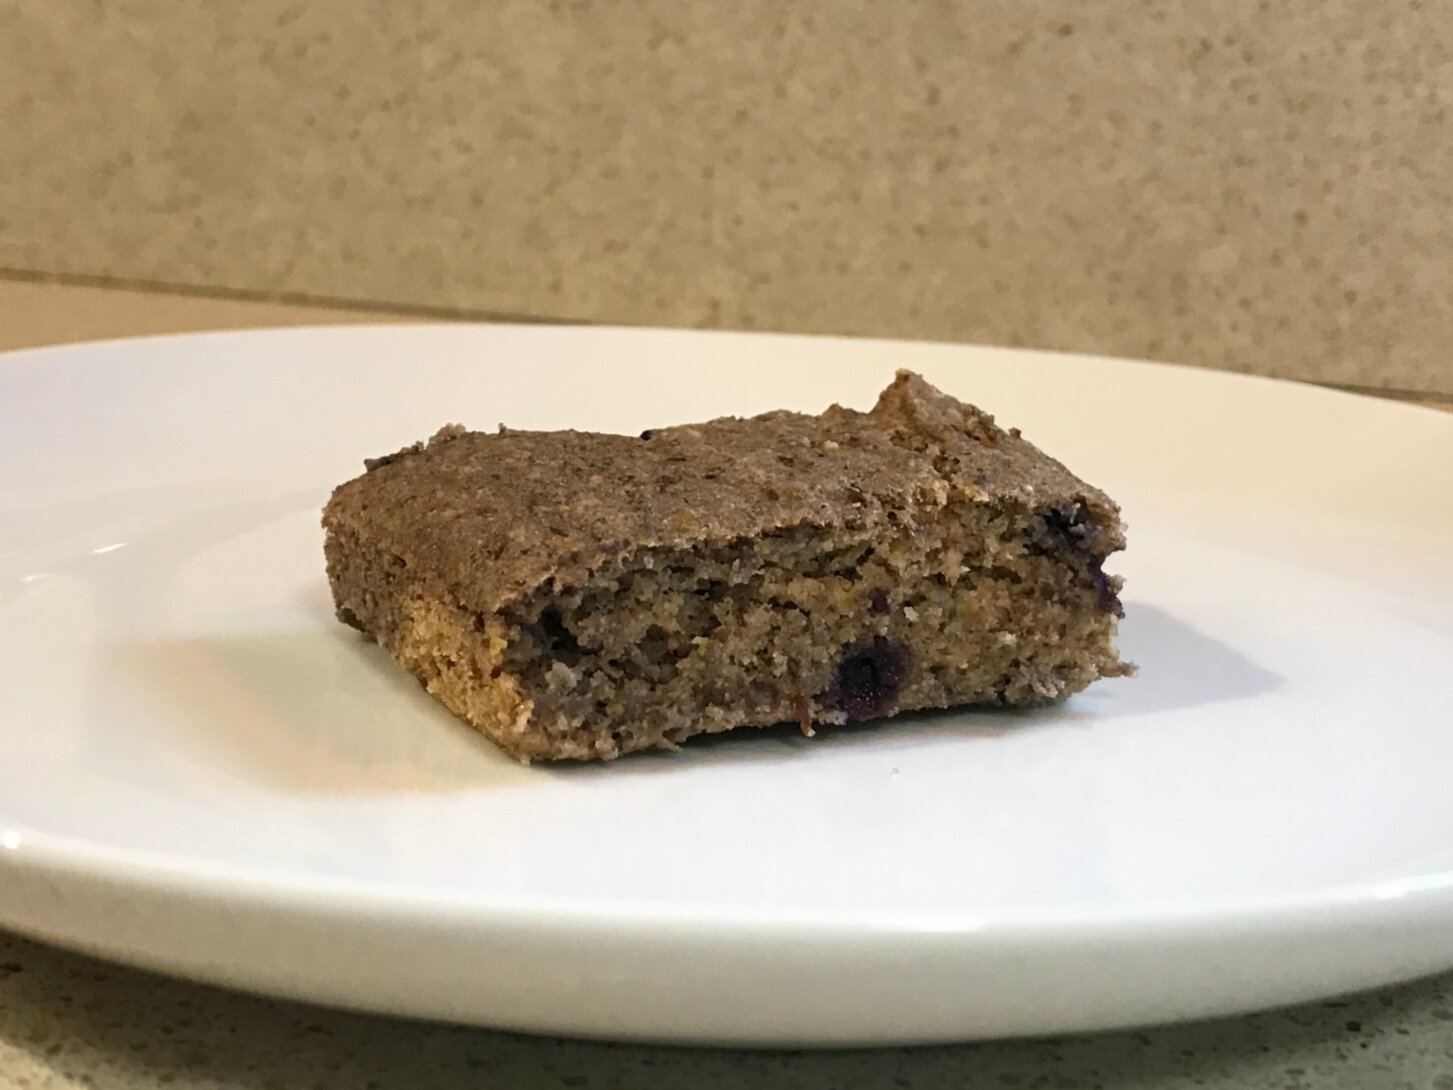
Sawyer’s Breakfast Bars:
Nutritious, Easy, & Devourable
First off, let me declare I am not a food blogger. I happen to be a mom who has had to navigate the food allergy world and am a healthcare professional who values the physical and mental benefits of nutritious foods. My recipes are merely a template, and I rarely cook or bake something exactly the same way twice. My hope is to share a story as a mother and provide ideas as a therapist and secondarily offer a recipe to try and even tweak for your own household.
When my oldest son was about 4 months old, he began to develop severe eczema around his mouth. We tried a plethora of creams, lotions, and ointments to no avail. The only thing that would temporarily soothe his open, inflamed, weeping skin was a warm Epsom-salt bath. He also had a tendency to wheeze, and on several occasions, his pediatrician said she wouldn’t be surprised if he ended up being diagnosed with asthma. I was so frustrated. Here I was, breastfeeding my baby and eating a high quality, nutritious diet myself. Why on earth was he having these issues? It turns out that several food triggers were causing the problem, and within 6 months of addressing these issues, my son’s skin cleared and his wheezing was a thing of the past. But let’s start at the beginning of our food journey…
It wasn’t until my son was 9 months old and we became aware of severe peanut, almond, and egg allergies that we started down a whole new food path. Only a few months later, our naturopath helped us identify a gluten and oat intolerance too. At first, it felt overwhelming to figure out what my son could and couldn’t have. The gluten part was easy; after all, I had a gluten intolerance and had been gluten-free for 4 years at that point. But I had a lot to learn about the other allergens. The egg was the most confusing one. I mean, what average person knows that the ingredients albumen, lysozyme, and globulin all are related to eggs? I sure didn’t.
Despite my feeling of initial overwhelm, I gradually started to learn how to make and buy safe foods for my child. After a little while, it became second nature. Fortunately, I was already a person who loved to cook and was quite familiar with creative cuisines and adapting recipes to my own preferences. While I previously saw baking as a chore (I hated measuring), I was motivated to add this skill to my repertoire. After all, I wanted to make my child’s food to ensure not only the allergen-safety, but to save money and optimize the nutritional contents as well. If you have ever tried to shop for specialty diet foods, you know two things: (1) they come at a premium and (2) oftentimes nutrition is compromised (just look at the ingredient list of the average gluten-free packaged product). While both the cost and nutrition have improved even in the last 5 years, I still choose to make most of my kids’ food from scratch. The act of cooking or baking brings me joy: I get time to myself (well, sometimes) and my creative brain has a functional outlet.
So, what about these “breakfast bars?”
Before we knew that our son had a mild oat intolerance, we had been giving him tons of oatmeal. One of his favorites was a Baked Oatmeal recipe that I had been making for years, even before he was born. Once we found out we needed to limit his oats, I began to tinker with the recipe. About 10 trials later, the official Sawyer-Friendly Breakfast Bar was born. It was completely free of oats, gluten, eggs, peanuts, and nuts. And my boy loved them; they’ve been in the regular breakfast rotation ever since.
My favorite thing about these bars is the versatility. Change up the grains/flours. Select your favorite sweetener. Vary the fruit or shredded vegetables you use in place of the applesauce. Heck, add chopped nuts or chocolate chips if you really want!
I make these bars nutrition-packed, and my boys gobble them right up. While I often freeze part of the batch, my boys have been known to eat almost an entire 9x13 pan when baked fresh! When my youngest was 10-12 months old, his ears and entire body would perk up when he heard we were having “bars!”
Recipe
Ingredients
3 cups flour blend (I do 1 cup of a GF all-purpose blend and the remaining two cups of more nutritious flours. See what’s in my pantry.
¼ to ½ cup of sweetener: honey, agave, pure maple syrup, or brown sugar
2 teaspoons baking powder
½ teaspoon cinnamon, optional
½ teaspoon nutmeg, optional
½ cup applesauce (or mashed banana, shredded zucchini, shredded carrot, etc—the moisture content will vary)
1 teaspoon vanilla extract
2 eggs*
1 cup milk or diary-free milk alternative
½ cup fruit (my kids love wild blueberries—small, flavorful, and even more nutritious than the conventional variety! Other ideas: dried fruit, chopped apples, fresh berries, or more applesauce/banana/zucchini/carrot).
Option: ½ cup chopped nuts


Instructions
Preheat oven to 350°F. Grease a 9x13 baking pan.
In a medium bowl, whisk together the dry ingredients [flours, baking powder, cinnamon, nutmeg, and sugar (if you’re using this as the sweetener)].
In a large bowl, whisk together the wet ingredients except the fruit (honey/agave/maple syrup, applesauce, vanilla extract, eggs, and milk).
Gradually add the dry ingredients into the wet ingredient bowl. I like to stick with my whisk on this step, although it gets a little tougher near the end.
Once the ingredients are well blended, gently fold in the fruit and/or nuts. Pour and spread into the 9X13 baking pan.
Bake 20-25 minutes. The bars are finished when the center springs back when you gently press on it or a toothpick comes out clean. Cool, cut, serve, and store. These do well in the freezer!
Modifications:
As my son started to grow out of some of his food allergies, I tweaked this recipe more and more. It turns out, this recipe can be modified for a variety of dietary wants and needs!
*Egg-free: Use a flax or chia egg: 1 tablespoon chia seed or ground flaxseed. 3 tablespoons warm water. Let sit 5 minutes before adding to the recipe.
Dairy-free: Almond milk and oatmilk have worked great in this recipe. I’ve also used just water with success.
Corn-free: Check the label on your baking powder to make sure it doesn’t have cornstarch
Grain-Free: Consider these options and read ***here*** to understand the nutritional value of each.
Coconut flour
Almond flour
Flaxseed meal
Arrowroot starch/powder
Cassava flour
Garbanzo bean flour (or another bean flour)
Don’t need gluten-free? This recipe will probably turn out just fine with regular flour or whole-grain flour, although I haven’t tried myself since I am strictly gluten-free.
References
Korn, Leslie (June 2019). Certified Mental Health Integrative Medicine Provider (CMHIMP) Training Course: Nutritional and Integrative Medicine for Mental Health Professionals, Online.
EatingWell. (2018-2020). Retrieved July 15, 2020 from www.eatingwell.com
Healthline (2005-2020). Retrieved July 15, 2020 from www.healthline.com